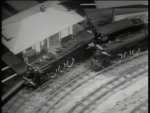
Boys' Railroad Club Photo Gallery
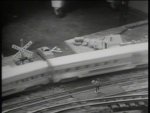
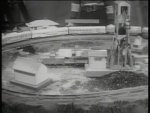
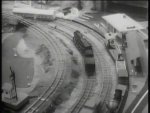
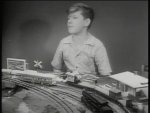
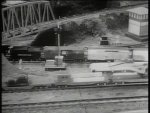
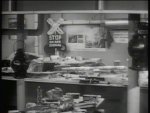
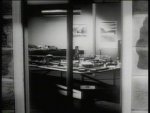
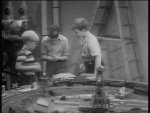
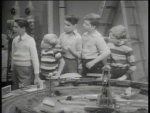
The placement of photos around the map
approximates the location of the area on the layout.
All photos courtesy of John Huster -
Map courtesy of Paul Yorke
Layout Map |
 |
 |
 |
 |
 |
 |
 |
|
 |
 |
|||||
 |
|
||||||
 |
 |
||||||
 |
 |
||||||
 |
 |
 |
 |
 |
 |
 |
 |
The placement of photos around the map
approximates the location of the area on the layout.
All photos courtesy of John Huster -
Map courtesy of Paul Yorke
Layout Map |
|
|
|
|
|
|
|
|
|
|
|||||
|
|
|
||||||
|
|
|
||||||
|
|
|
||||||
|
|
|
|
|
|
|
|
|