2nd Floor Layout - Sectional Photos
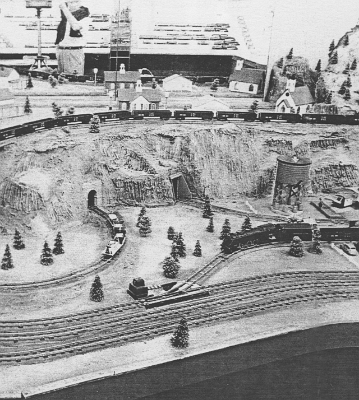
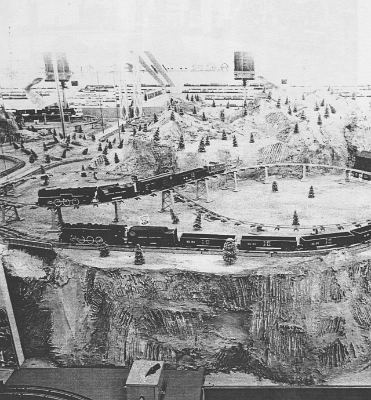
Left Side-New Elevated Loop & Figure 8 This photo shows the elevated S gauge loop that replaced the HO loops. The over/under figure 8 has been placed in the area formerly occupied by the HO village and the now partially leveled mountain. The display oval in the left foreground appears to be a Trainorama display, a new item for 1953.
Left Side-New Elevated Loop & Figure 8

This photo shows the elevated S gauge loop that replaced the HO loops. The over/under figure 8 has been placed in the area formerly occupied by the HO village and the now partially leveled mountain. The display oval in the left foreground appears to be a Trainorama display, a new item for 1953.
Mine Train Loop & Elevated S Loop This photo shows the newly added mine train loop which replaced the circus grounds which previously occupied this area. The large elevated S gauge loop is visible at the middle of the photo.
Mine Train Loop &
Elevated S Loop

This photo shows the newly added mine train loop which replaced the circus grounds which previously occupied this area. The large elevated S gauge loop is visible at the middle of the photo.
Mine Train Loop &
Elevated S Loop

This photo shows the newly added mine train loop which replaced the circus grounds which previously occupied this area. The large elevated S gauge loop is visible at the middle of the photo.
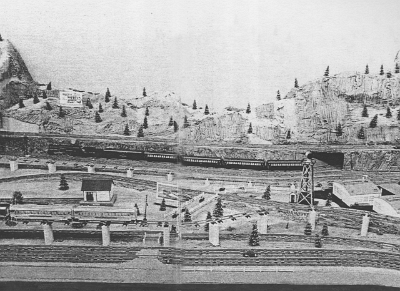
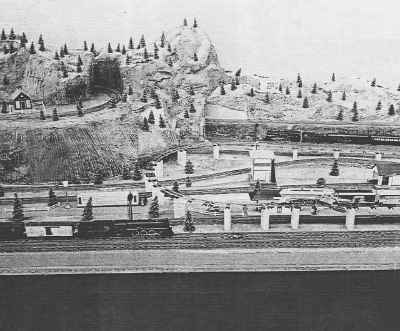
Elevated Loop In the top left area of this photo, the right end of the newly added elevated S gauge loop can be seen entering a tunnel. In the foreground, you can see a Silver Bullet passenger set coming into the right end of the lake area elevated loop. This is the same area which would later be featured on the cover of the 1957 catalog, with a trestle set substituted for the blocks which support the elevated track in this photo.
Elevated Loop

In the top left area of this photo, the right end of the newly added elevated S gauge loop can be seen entering a tunnel. In the foreground, you can see a Silver Bullet passenger set coming into the right end of the lake area elevated loop. This is the same area which would later be featured on the cover of the 1957 catalog, with a trestle set substituted for the blocks which support the elevated track in this photo.
Elevated Loop Nearing Lake Moving to the right we come to the edge of the lake at the far right of this photo, where the elevated track begins its downward descent in preparation for a waterlevel crossing of the lake.
Elevated Loop Nearing Lake

Moving to the right we come to the edge of the lake at the far right of this photo, where the elevated track begins its downward descent in preparation for a waterlevel crossing of the lake.
Elevated Loop Nearing Lake

Moving to the right we come to the edge of the lake at the far right of this photo, where the elevated track begins its downward descent in preparation for a waterlevel crossing of the lake.
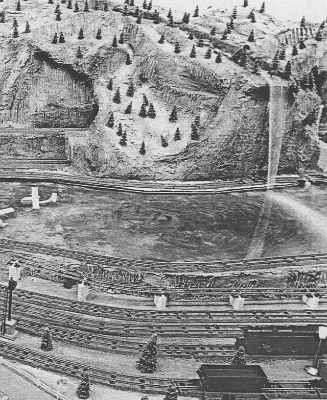
Elevated Loop and Waterfall In this photo you can see the left end of the lake area elevated loop as it comes down to lake level to prepare for a crossing of the lake at water level and a run under the waterfall.
Elevated Loop and Waterfall

In this photo you can see the left end of the lake area elevated loop as it comes down to lake level to prepare for a crossing of the lake at water level and a run under the waterfall.
Elevated Loop and Waterfall

In this photo you can see the left end of the lake area elevated loop as it comes down to lake level to prepare for a crossing of the lake at water level and a run under the waterfall.
3 Level Crossing In this section of the layout the changes aren't as obvious as elsewhere, but the lake has been shortened and yard tracks added. The log loader has also been repositioned, but the 3 level crossing has not been changed.
3 Level Crossing

In this section of the layout the changes aren't as obvious as elsewhere, but the lake has been shortened and yard tracks added. The log loader has also been repositioned, but the 3 level crossing has not been changed.
3 Level Crossing

In this section of the layout the changes aren't as obvious as elsewhere, but the lake has been shortened and yard tracks added. The log loader has also been repositioned, but the 3 level crossing has not been changed.
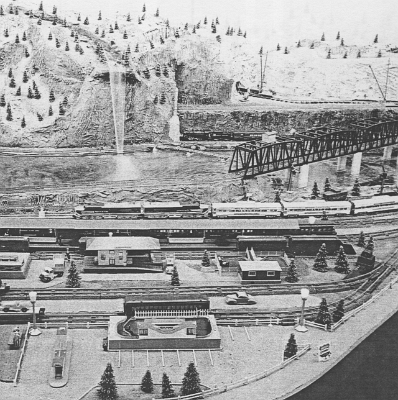
Bump Out Area, Waterfall, & Trestle Bridges This photo provides an excellent close up of the bump out area where many accessories are displayed. New for the display in 1953 is the Guilford Station, which was released for sale in 1952. It replaced a 2nd operating stockyard.
Bump Out Area, Waterfall,
& Trestle Bridges

This photo provides an excellent close up of the bump out area where many accessories are displayed. New for the display in 1953 is the Guilford Station, which was released for sale in 1952. It replaced a 2nd operating stockyard.
Bump Out Area, Waterfall,
& Trestle Bridges

This photo provides an excellent close up of the bump out area where many accessories are displayed. New for the display in 1953 is the Guilford Station, which was released for sale in 1952. It replaced a 2nd operating stockyard.
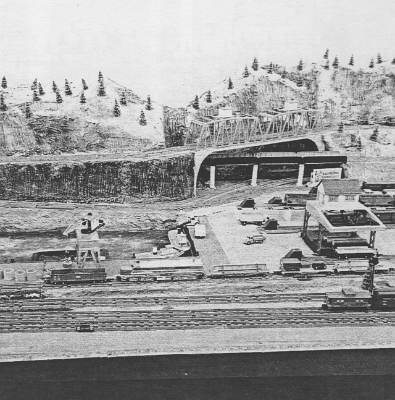
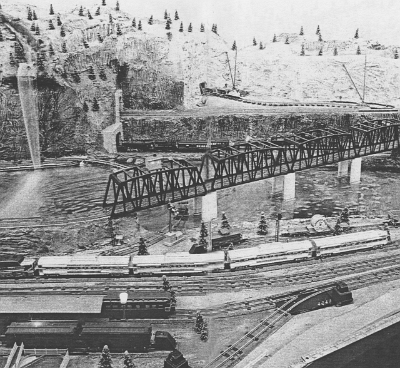
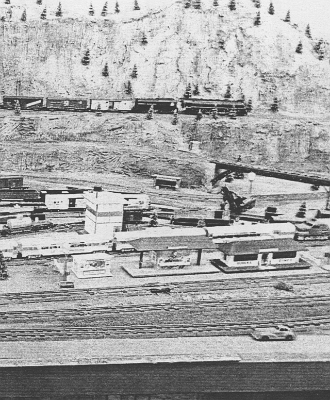
Waterfall & Trestle Bridges 	 There is a lot to see in this photo. At the top right is the mine spur, featuring a handcar mine train. In the middle is the four section trestle bridge, which replaced the operating Erector drawbridge that had been in this spot until the 1953 revisions. Finally, you can see where the elevated lake area loop ducks under the first section of the trestle bridge to cross the lake at water level and run under the waterfall.
Waterfall & Trestle Bridges

There is a lot to see in this photo. At the top right is the mine spur, featuring a handcar mine train. In the middle is the four section trestle bridge, which replaced the operating Erector drawbridge that had been in this spot until the 1953 revisions. Finally, you can see where the elevated lake area loop ducks under the first section of the trestle bridge to cross the lake at water level and run under the waterfall.
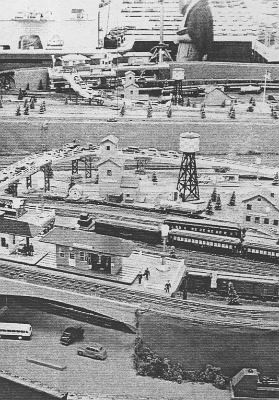
Right End At Erector Girder Bridge As we move further to the right on the layout the changes consist mostly of some added trackage and some additional buildings.
Right End At
Erector Girder Bridge

As we move further to the right on the layout the changes consist mostly of some added trackage and some additional buildings.
Right End At
Erector Girder Bridge

As we move further to the right on the layout the changes consist mostly of some added trackage and some additional buildings.
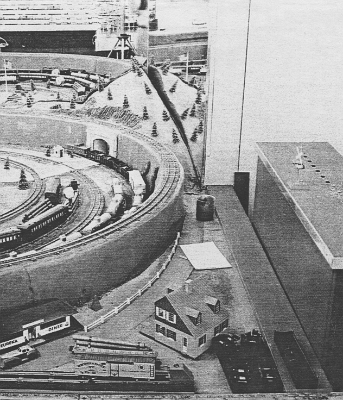
Elevated Station & Industrial Area At the far right end of the layout, we see what used to be the industrial area between the concrete walls is probably still an industrial area, though the buildings are less clearly industrial in nature. The elevated station area is much the same as when the layout was originally built. The mirrors on the back walls give a much different effect than the New York City backdrop that previously covered the back wall of this area. Interestingly, we get an exceptionally good view of some of the things we can't see on the layout in the direct view and also of the display shelves on the other side of the room.
Elevated Station
& Industrial Area

At the far right end of the layout, we see what used to be the industrial area between the concrete walls is probably still an industrial area, though the buildings are less clearly industrial in nature. The elevated station area is much the same as when the layout was originally built. The mirrors on the back walls give a much different effect than the New York City backdrop that previously covered the back wall of this area. Interestingly, we get an exceptionally good view of some of the things we can't see on the layout in the direct view and also of the display shelves on the other side of the room.
Far Right End of Layout Here we see the far right end of the layout and the area outside the concrete wall enclosing the industrial area, an area not seen in any other photos. At the back right, it appears that a small mountain has been added. The cabinet at the right probably holds relays and wiring.
Far Right End of Layout

Here we see the far right end of the layout and the area outside the concrete wall enclosing the industrial area, an area not seen in any other photos. At the back right, it appears that a small mountain has been added. The cabinet at the right probably holds relays and wiring.
Generated by jAlbum 20.1, Matrix 56